File Manager and SFTP: how to manage WordPress files
Manage your WordPress files with the browser File Manager or with SFTP and FileZilla. Create an SFTP account in the panel and connect step by step.
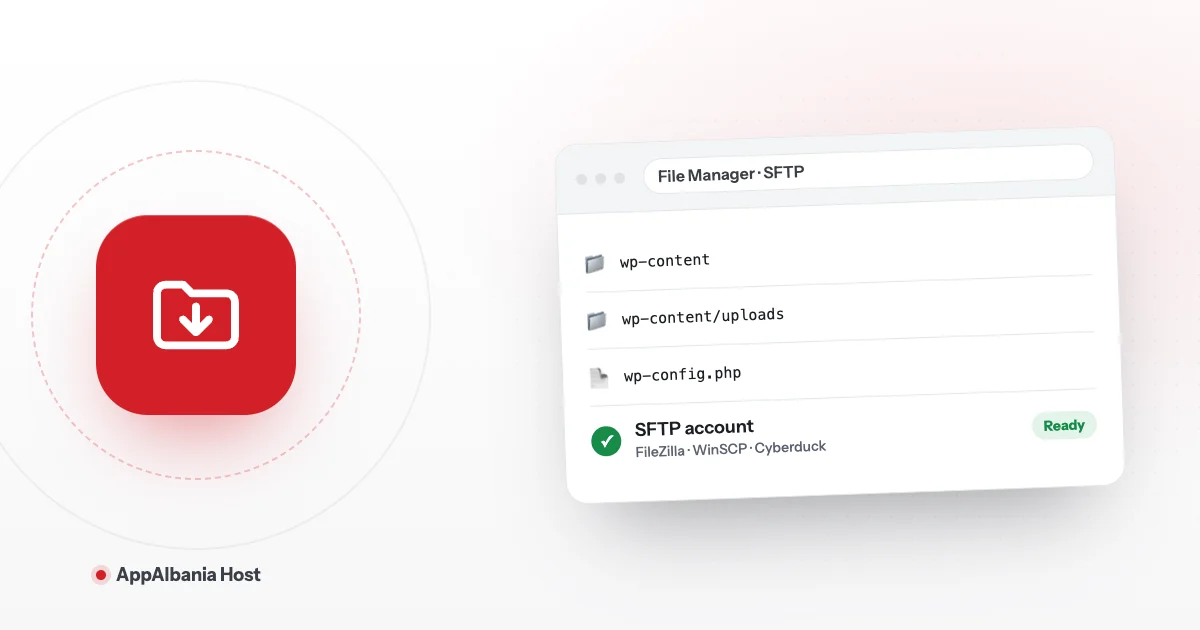
You can manage your WordPress site files in two ways: with the File Manager right in your browser, or over SFTP with a program like FileZilla. Use the File Manager for small changes; for large uploads, create an account under File & Access → SFTP and connect with FileZilla.
When do you need access to your files?
Most WordPress work happens in the admin dashboard. But sometimes you need direct access to the files:
- to upload a large theme or plugin that will not upload through WordPress;
- to download a copy of your files before a big change;
- to view or edit
wp-config.php(the main WordPress settings file); - to disable a plugin that has broken the site, by renaming its folder;
- to upload many photos or documents at once.
If you are just starting out, first read how to get started with WordPress hosting to find your way to the panel.
File Manager: your files in the browser, no extra software
The File Manager lets you browse your site files directly in the browser, just like folders on your computer. There is nothing to install.
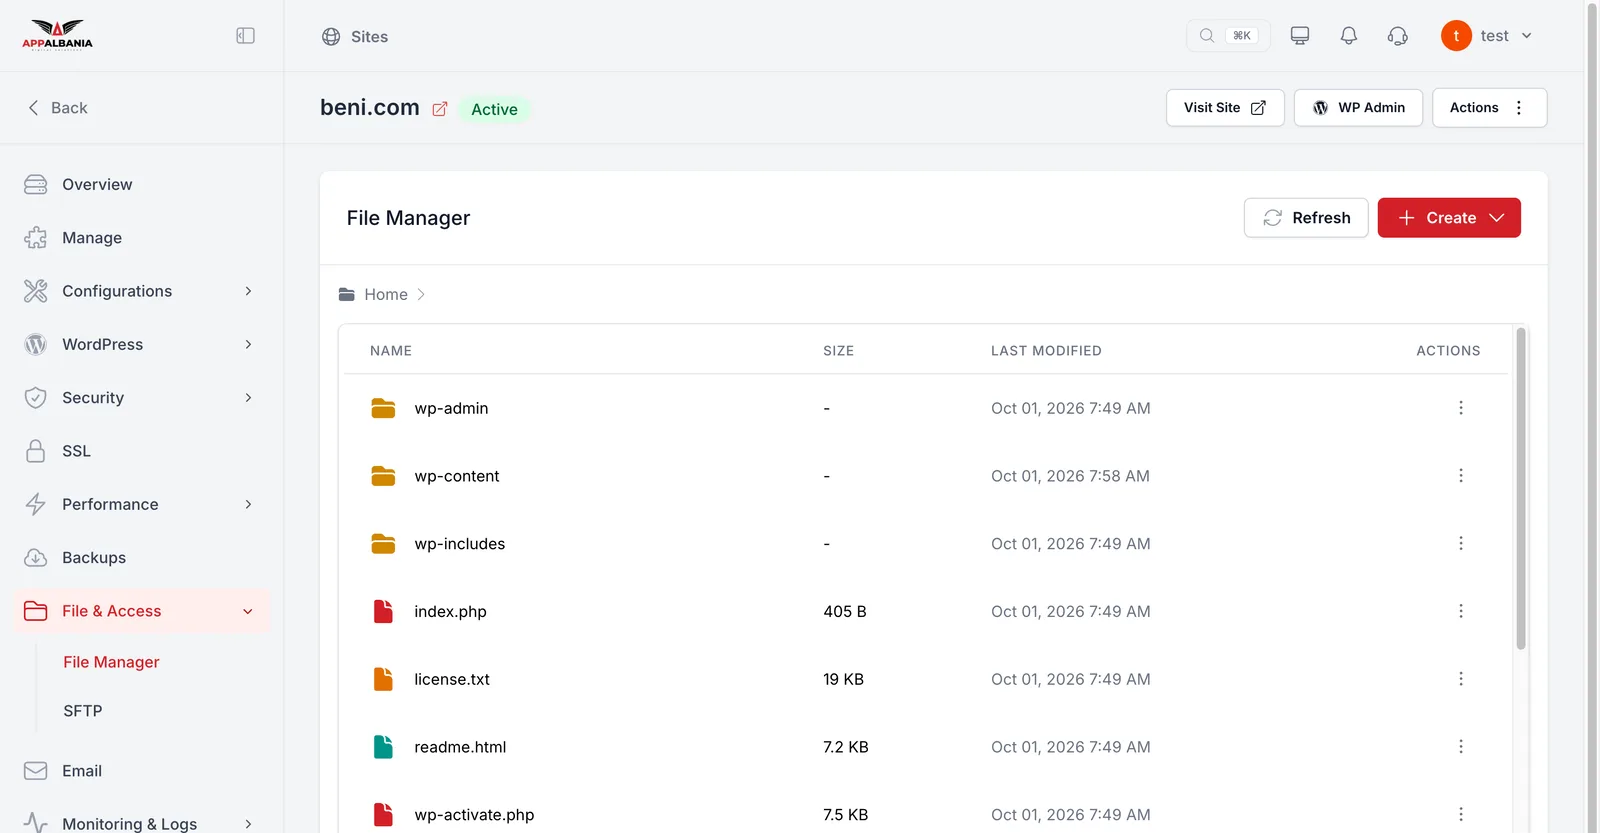
- Log in to your account and press Open hosting panel. Select your site.
- In the sidebar, open File & Access → File Manager.
- You will see the WordPress folders:
wp-admin,wp-content,wp-includesand thewp-config.phpfile. - Use Create to make a new file or folder, and Refresh to reload the list.
- Each file has actions: edit, rename, download and delete.
Your themes and plugins live in wp-content, inside the themes and plugins folders. Uploaded photos and files are in wp-content/uploads.
Do not delete or edit files in wp-admin and wp-includes. These are the core WordPress files. Before any change to wp-config.php, download a copy of it or take a WordPress backup.
What is SFTP?
SFTP (SSH File Transfer Protocol) is a secure way to move files between your computer and the server. Everything is sent encrypted (scrambled), so nobody can read your password or files on the way.
SFTP is more practical than the File Manager when you have many files or very large ones. You need a free program such as FileZilla, WinSCP (Windows) or Cyberduck (Mac and Windows).
How to create an SFTP account in the panel
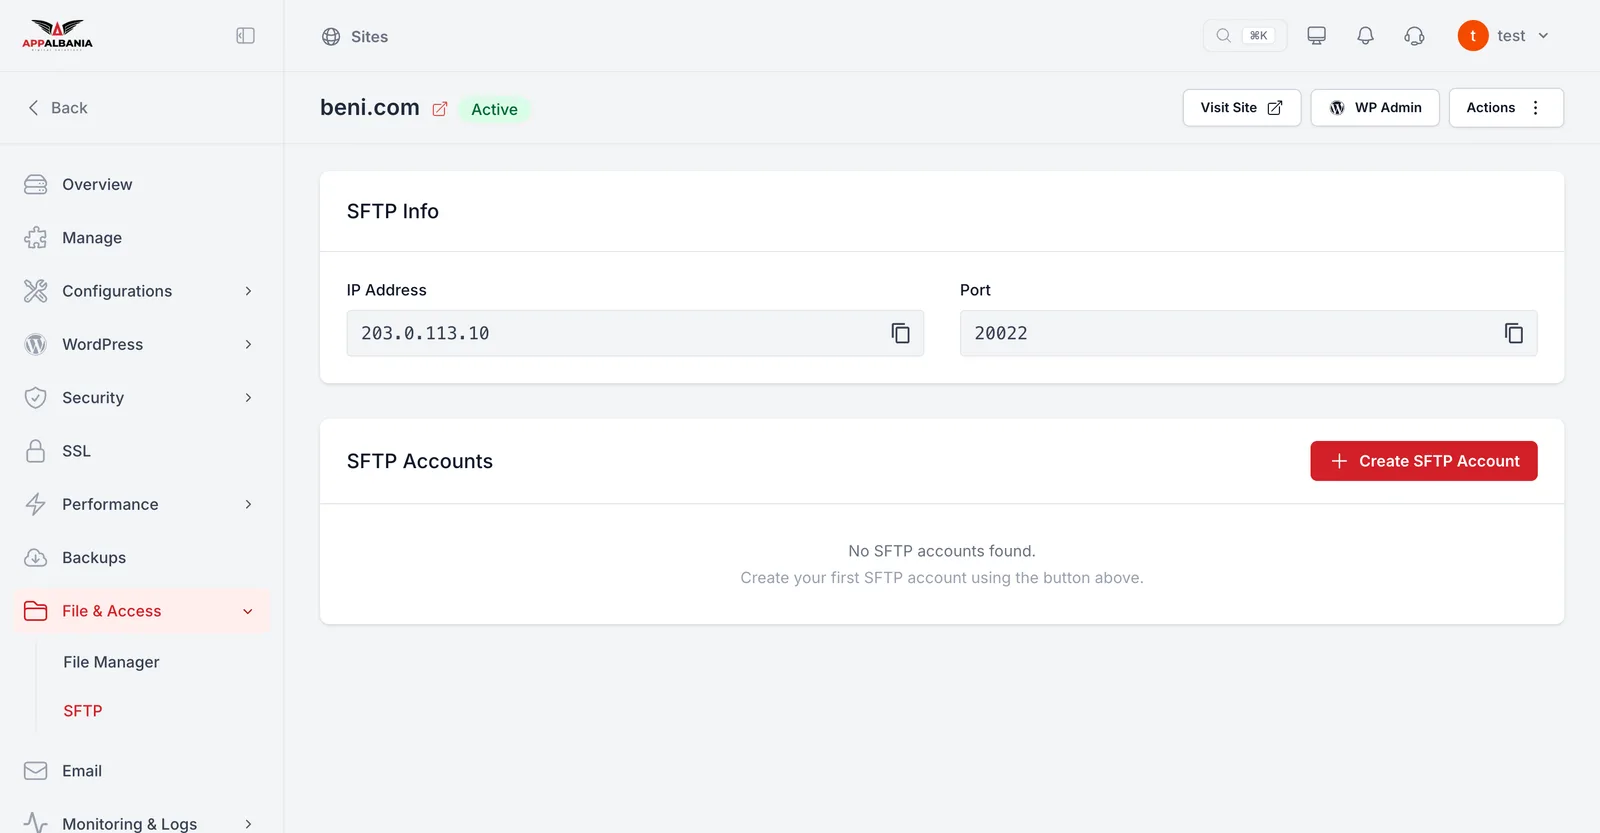
- In the hosting panel, open File & Access → SFTP.
- In the SFTP Info section you will see two details: the server IP address and the Port. Write them down; you will need them in FileZilla.
- Under SFTP Accounts, press Create SFTP Account.
- Enter a username and a strong password.
- Save. The new account appears in the list.
The SFTP port is not the standard port 22. Always use the port number shown under SFTP Info in the panel. This is the most common reason a connection fails.
Security tips for SFTP accounts
An SFTP account gives full access to your site files, so treat it like the key to your house:
- Use a long, unique password that you do not use anywhere else. A password manager makes this easy.
- If a developer or agency works on your site, create a separate SFTP account for them with its own username. Do not share your own account.
- When the work is finished, delete the account that is no longer used. The fewer active accounts, the better.
- Do not save the password on shared or public computers.
For more ways to protect your site, read our guide to WordPress security.
Connecting with FileZilla, step by step
FileZilla is a free program for Windows, Mac and Linux. Once it is installed, follow these steps:
- Open FileZilla and go to File → Site Manager.
- Press New site and give it a name, e.g. your website name.
- Under Protocol, choose SFTP - SSH File Transfer Protocol. Do not choose FTP.
- In Host, enter the IP address shown under SFTP Info in the panel.
- In Port, enter the port shown under SFTP Info in the panel.
- Set Logon Type to Normal.
- In User and Password, enter the username and password of the SFTP account you created.
- Press Connect. The first time, FileZilla asks whether you trust the server ("unknown host key"). Press OK.
Once connected, your computer's files are on the left and your site files are on the right. To upload, drag files from left to right. To download, do the opposite.
If the connection does not work
- Check that the protocol is SFTP, not FTP.
- Check that the port is the one from the panel, not 22 or 21.
- Check the username and password. If you are unsure, create a new SFTP account.
- If WordPress cannot write to files after an upload, use Manage → Fix Permission to repair the file permissions.
File Manager or SFTP: which should I use?
| Situation | Best choice |
|---|---|
| A quick edit to one file | File Manager |
| Renaming a plugin folder | File Manager |
| Uploading many files or folders | SFTP (FileZilla) |
Downloading the whole wp-content folder | SFTP (FileZilla) |
| Working from a phone or someone else's computer | File Manager |
Summary
For small changes, use the File Manager under File & Access. For big transfers, create an account via SFTP → Create SFTP Account and connect with FileZilla using the address and port from SFTP Info, with the SFTP protocol. Always back up before big changes, and see our guide to troubleshooting WordPress too.
Moving from another host? You do not have to move the files yourself: request a free site migration, or see the AppAlbania Host plans. For any question, contact our support team.
Frequently asked questions
Where do I find my SFTP connection details?
In the hosting panel under File & Access → SFTP. The SFTP Info section shows the server address and port, and the username and password are those of the SFTP account you create.
Why will FileZilla not connect?
The most common causes are the wrong protocol (FTP instead of SFTP) or the wrong port. Always use the port shown under SFTP Info in the panel.
Can I edit files without installing any software?
Yes. The File Manager in the panel lets you create, edit, rename, download and delete files directly from your browser.
Can I use WinSCP or Cyberduck instead of FileZilla?
Yes. Any program that supports SFTP works. Use the same details: the address and port from SFTP Info, the SFTP protocol and your SFTP account.