How to get started with WordPress hosting: beginner guide
Get started with WordPress hosting step by step: pick a plan, create your account, open the hosting panel in one click and learn the site Overview page.
To get started with WordPress hosting at AppAlbania Host you need just four steps: pick a plan, fill in your details and pay by card, sign in to your account, and open the hosting panel with one click. WordPress is installed automatically, so you do not need any technical knowledge to begin.
In this guide we walk you through every step, button by button, and show you what you will see on screen. We use the exact button names from the hosting panel so you can follow along easily.
What WordPress hosting is and why you need it
Hosting is the "home" of your website on the internet: a computer (a server) that runs all the time and shows your site to visitors. WordPress is the software you use to build and change your site without writing code.
With managed WordPress hosting, we look after the server while you focus on your content. Both of our plans include one WordPress site, the NGINX or OpenLiteSpeed web server (the software that delivers your pages to visitors) and PHP 8.2, 8.3 or 8.4 (PHP is the programming language WordPress is written in).
Step 1: Choose the right plan
Open the homepage and go to the hosting plans section. You will find two plans: Starter and Premium. The Starter plan also includes free site migration, free SSL certificates and daily backups.
If you already have a WordPress site somewhere else, you do not need to rebuild it from scratch. You can request a free site migration and our team will move it for you.
Step 2: Sign up and pay securely
After you click the plan you like, the signup form opens. The process is short:
- Enter your name and email. This is where you will receive invoices and notifications.
- Choose a strong password for your account.
- Enter your domain, which is your website address (for example
yourbusiness.com). - Enter your site title, the name shown on your website. You can change it later in WordPress.
- Pay by card. Payment is processed securely by Stripe, an international payments service.
As soon as the payment is confirmed, your hosting account and WordPress are created automatically. You do not have to install anything yourself.
Step 3: Get to know your account
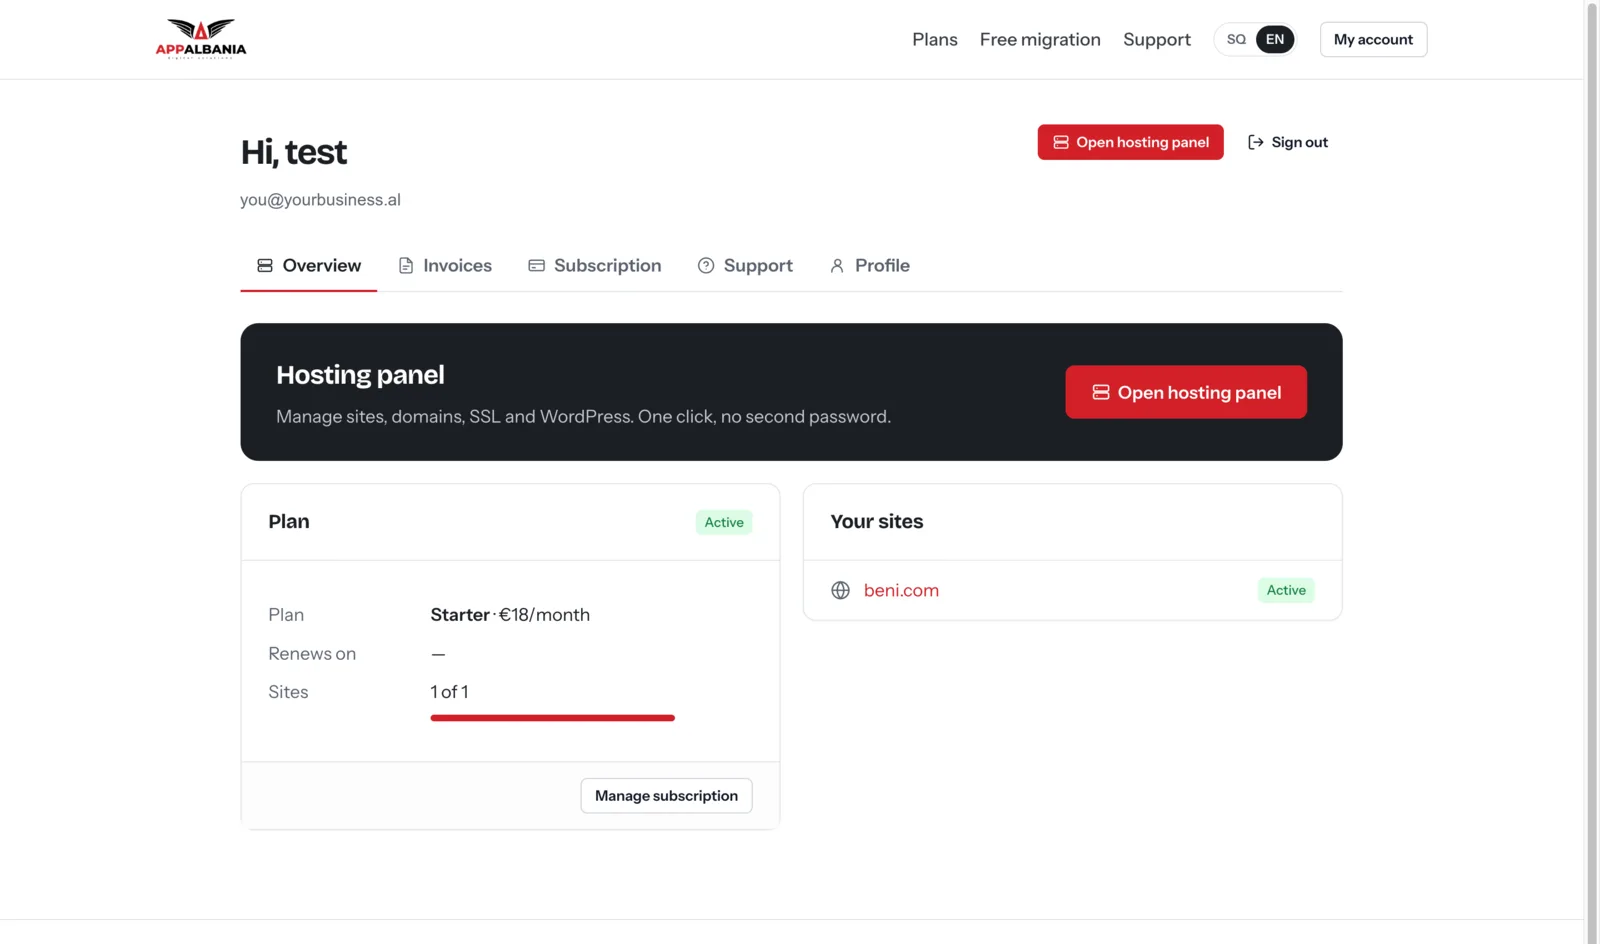
Your account lives on the account page. This is where you manage everything related to your service and payments. The account has five tabs:
- Overview: your plan, your sites and the Open hosting panel button.
- Invoices: all your invoices.
- Subscription: change or upgrade your plan and update your card.
- Support: open and follow requests (tickets) to our team.
- Profile: your name, email, password and two-factor authentication (2FA).
Turn on two-factor authentication (2FA) in the Profile tab. It asks for an extra code from your phone when you sign in, so even if someone learns your password, they cannot get into your account.
Step 4: Open the hosting panel with one click
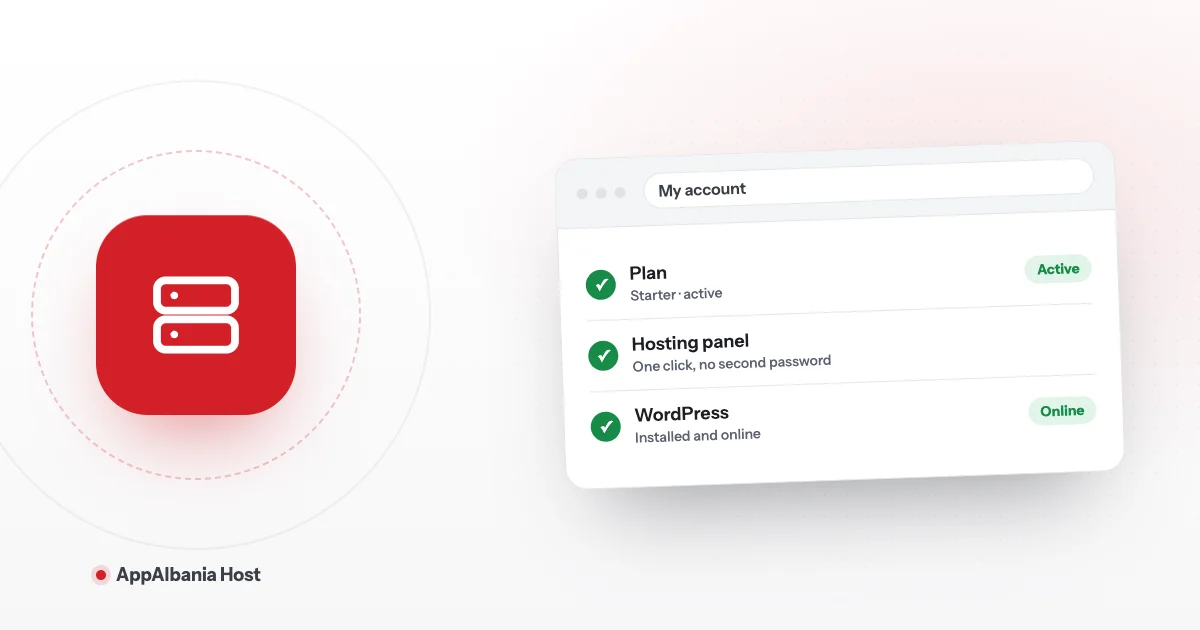
In the Overview tab, click Open hosting panel. You go straight into the hosting panel without typing a second password. This is called single sign-on: one account, one password.
In the panel you first see the sites list. For each site it shows the domain, the PHP version, the WordPress version and the status. From this list you can also run bulk actions: Update all plugins, Update all themes, Update core or Update everything (updates plugins, themes, WordPress itself, or all of them together).
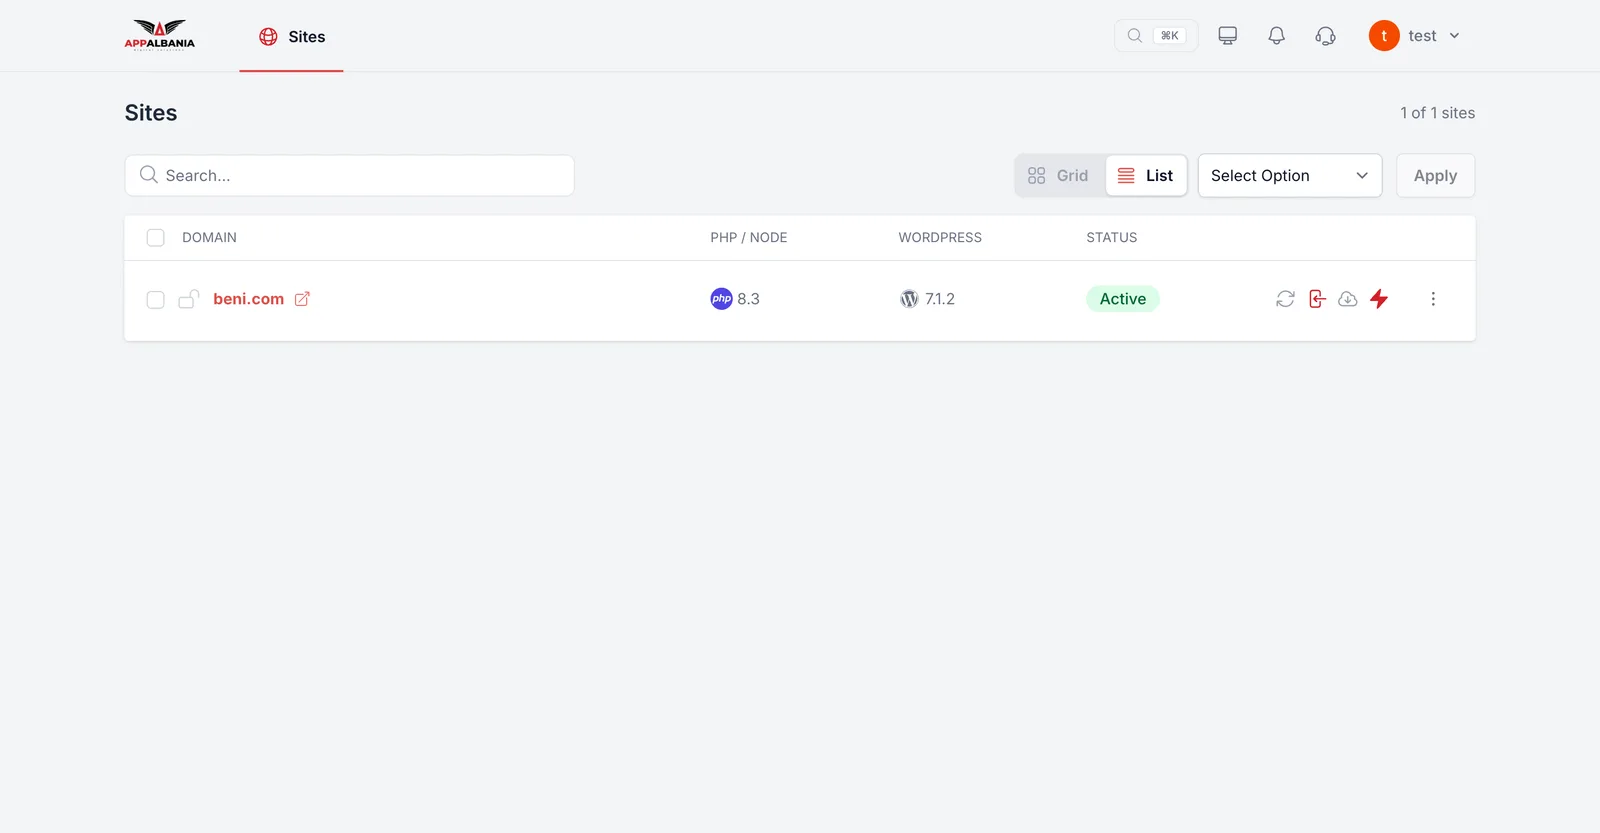
Click your site to open it. At the top you will see three buttons you will use often:
- Visit Site: opens your website exactly as visitors see it.
- WP Admin: logs you into the WordPress admin dashboard with one click, no password needed.
- Actions: other actions for the site.
Step 5: Understand your site's Overview page
The first page of your site in the panel is Overview. The Application section shows the state of your site at a glance:
| Field | What it shows |
|---|---|
| Domain | The main address of your site. |
| HTTPS | Whether the secure connection (the padlock in the browser) is Enabled or Disabled. |
| Page caching | Whether page caching (keeping ready-made copies of pages in memory) is on, which makes your site faster. |
| Maintenance mode | Whether the site is "under maintenance" and visitors see a notice page. |
| Multisite | Whether WordPress is set up as a network of several sites. |
| PHP version | The PHP version your site uses. |
| Web directory | The folder where your site files are stored. |
| Created at / by | When and by whom the site was created. |
| Helper plugin | The helper plugin that connects WordPress to the panel. The Refresh button refreshes it. |
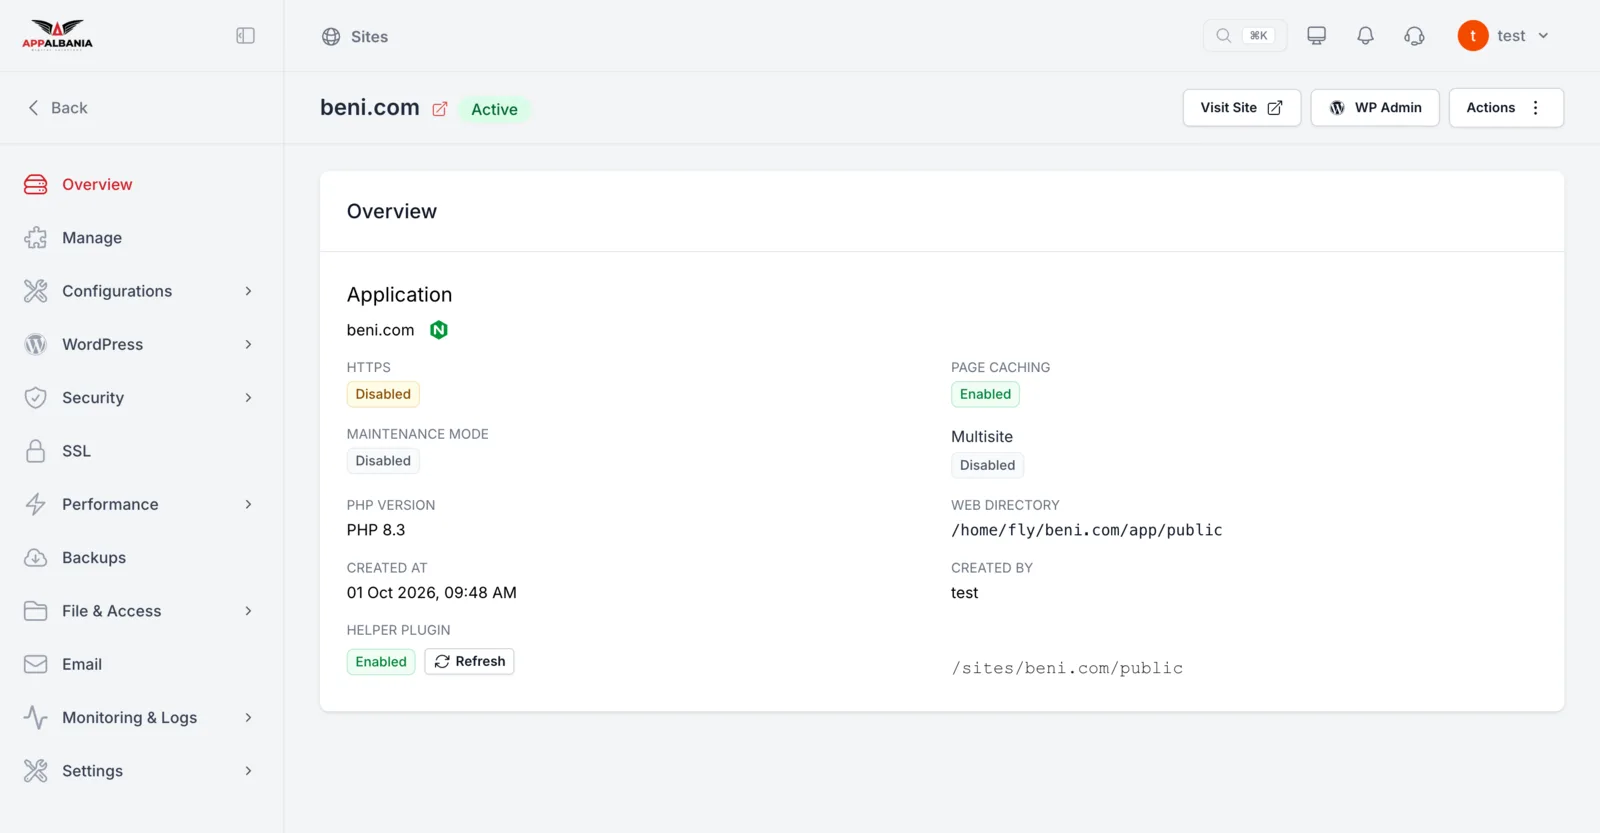
On the left is the menu with all the sections of your site: Manage, Configurations, WordPress, Security, SSL, Performance, Backups, File & Access, Email, Monitoring & Logs and Settings. You do not need to learn them all today. We explain them one by one in our other guides.
What to do after day one
Once your site is created, follow these steps in order:
- Connect your domain. For people to open your site at your own address, the domain must point to your hosting. See the guide on how to connect your domain to your hosting.
- Turn on SSL. Once the domain is connected, install the free certificate so HTTPS becomes Enabled. Read how to install a free SSL certificate.
- Check your backups. Learn how copies of your site are stored off-server in the WordPress backup guide.
- Strengthen security. Turn on the firewall and basic protections with the WordPress security guide.
Do not delete the Helper plugin from WordPress. It connects your site to the panel, and without it some panel features may not work properly.
Summary
Getting started with WordPress hosting is simple: choose a plan, sign up and pay by card, go to your account and click Open hosting panel. WordPress is created automatically and the Overview page shows the state of your site at a glance. Ready to begin? See the AppAlbania Host plans. If you have questions, write to us on the support page or on WhatsApp at +355 67 496 3486.
Frequently asked questions
Do I have to install WordPress myself after buying hosting?
No. Once your payment is confirmed, your hosting account and WordPress are created automatically. You just open the panel and start working.
Do I need a separate password for the hosting panel?
No. The Open hosting panel button in your account signs you into the panel with one click, without a second password.
How do I log in to the WordPress admin?
In the hosting panel, open your site and click WP Admin at the top. You will be logged into WordPress with one click.
I already have a WordPress site. Can I move it to AppAlbania Host?
Yes. Fill in the request on the migration page and our team will move your site for free.