
Chapter 11 of 15
Files and SFTP
How to manage your site files with the File Manager in your browser and how to connect over SFTP with FileZilla, WinSCP or Cyberduck.
In this guide
You can manage your site files (WordPress, themes, plugins, images) in two ways: with the File Manager right in your browser, or with an SFTP program on your computer. Both live in the File & Access section of the panel.
File Manager in your browser
The File Manager is the quickest way to make a small change without installing anything.
- From host.appalbania.com/account click Open hosting panel and select your site.
- In the sidebar open File & Access → File Manager.
- Browse your site folders:
wp-admin,wp-content,wp-includes,wp-config.phpand the rest. - Each file has actions: edit, rename, download and delete.
- Use Create for a new file or folder and Refresh to reload the list.
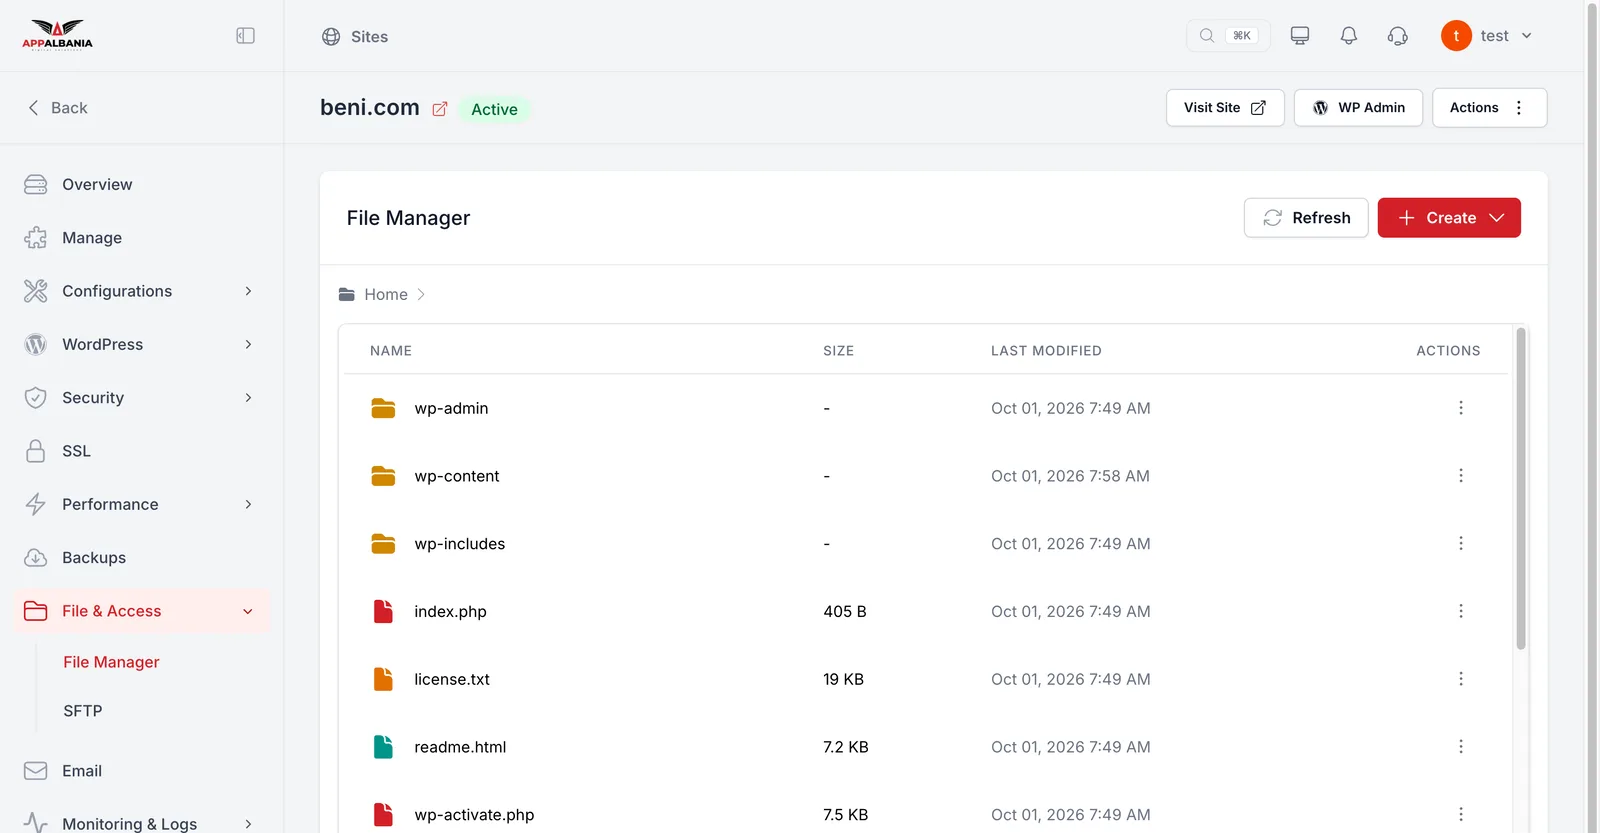
Before you edit or delete important files such as wp-config.php or theme files, download a copy. A small mistake can take the site offline. Do not change files in wp-admin and wp-includes: they are part of WordPress and are replaced on every update.
Folders you will use most
wp-content/themes– your installed themes.wp-content/plugins– your plugins. If a plugin breaks the site and you cannot reach WP Admin, rename its folder here to deactivate it.wp-content/uploads– the images and files you uploaded to Media.wp-config.php– the main WordPress settings. Most of them are safer to change in Configurations.
What SFTP is
SFTP (SSH File Transfer Protocol) is a secure, encrypted way to move files between your computer and the server. It is the better choice when you upload many files at once, for example a whole theme or a folder of images.
Create an SFTP account
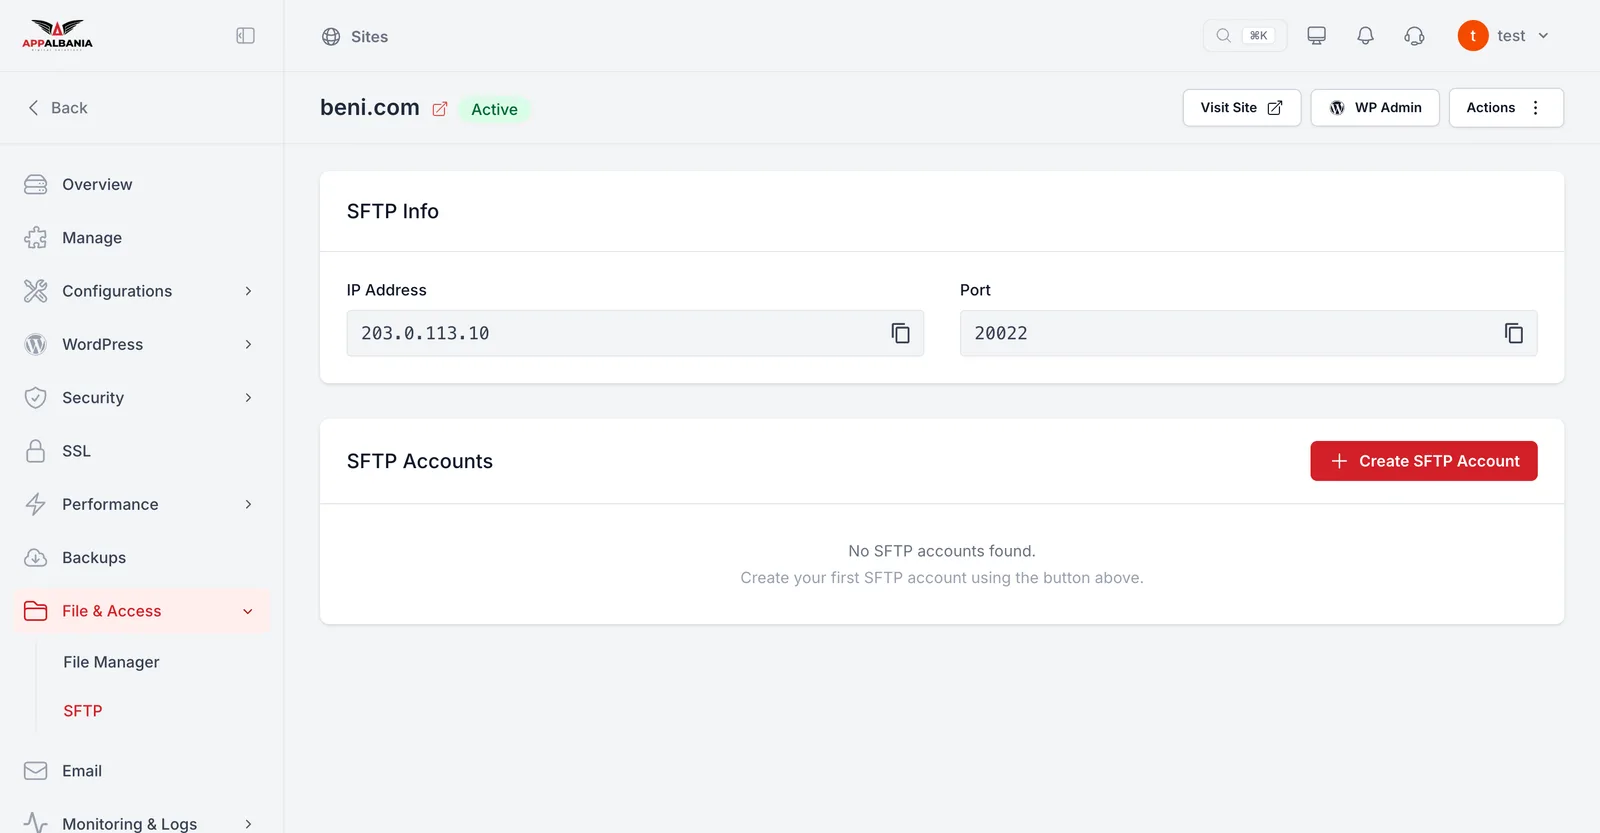
- In the panel open File & Access → SFTP.
- Under SFTP Accounts click Create SFTP Account.
- Enter a username and a strong password.
- Save. Note the username and password somewhere safe.
On the same page, under SFTP Info, you will find the server IP address and the Port. The port is not the standard one, so always copy it from the panel.
Connect with FileZilla
FileZilla is a free program for Windows, macOS and Linux. You can also use WinSCP or Cyberduck; the fields are the same.
- Open FileZilla and choose File → Site Manager, then New site.
- Under Protocol choose SFTP - SSH File Transfer Protocol.
- In Host enter the IP address from SFTP Info in the panel.
- In Port enter the port from SFTP Info.
- Under Logon Type choose Normal, then type the SFTP account username and password.
- Click Connect. The first time, FileZilla asks whether you trust the server key; accept it.
On the left you see your computer, on the right your site files. Drag files from one side to the other to upload or download them.
If the connection fails, check three things: the protocol must be SFTP (not FTP), the port must be the one from the panel, and the password must be the SFTP account password, not your host.appalbania.com account password.
After uploading files
If WordPress cannot read or write files after an upload, open Manage and click Fix Permission. This resets the file permissions. More in Troubleshooting and logs. For a longer guide read File Manager and SFTP.
Need help? Write to support.